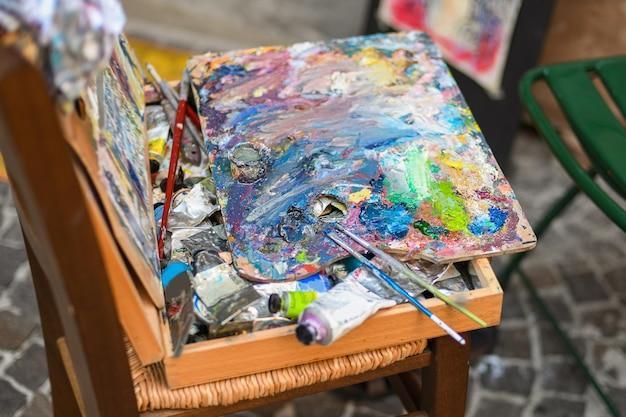
One of the features of art is distinction and uniqueness to stand out from the rest. Therefore, you should spend time and resources on creating the best one. One of the strategies to create the best art is lino printing. It is an old technique, but it is the key to creating amazing artwork, especially images.
Lino printing is more complicated; you need all the skills and experience to create some of the best artwork. You can easily create some of the best images once you understand key processes like carving, designing, and printing.
Learning the techniques used by expert artists can produce some of the most desirable outcomes. This article explores some of these techniques in depth.
1. Carving Techniques
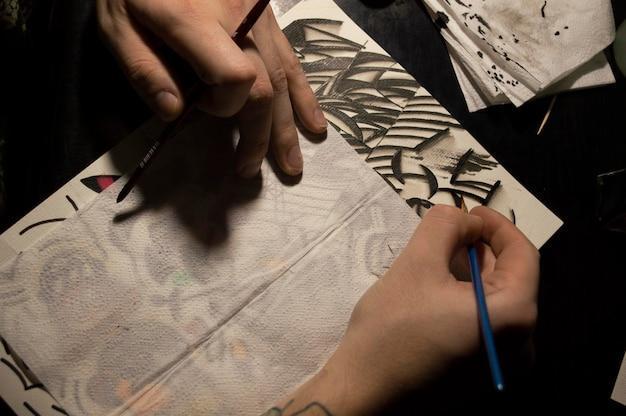
Carving techniques should be the first technique to master before beginning lino printing. Master lino artists are excellent at carving sketch designs to achieve the desired goals. The art of carving requires practice, mastery, precision, and patience. At first, it may not be smoother. However, you can perfect everything as time goes by.
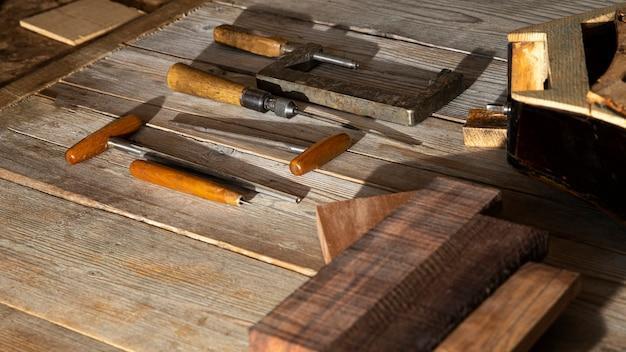
The one rule to excel in this stage is to have the perfect lino printing kit. Ensure the kit has everything you need to achieve distinction, uniqueness, clean curves, and amazing cuts. Besides the lines, you should master the textures, which will depend on the nature of the lino board used and how sharp your tools are to create smooth edges.
Learn about the depth, layer, blocking, chipping, and all techniques to achieve the smooth or rough desired edges. After this stage, you can proceed to perfect other techniques.
2. Jigsaw Cut method
One of the greatest lino prints is a multi-colored print. The multicolor effects make the final piece amazing and appealing to the eye. One of the best ways to make such prints is to think of everything as a jigsaw puzzle. First, sketch a design you can fit together like a giant puzzle.
Work on each piece independently before assembling. Cut every individual shape using a craft knife or scalpel. Use a smooth or softer lino block to create an amazing design. Finally, ink each of the pieces separately, each in different colors.
Use a brayer or a roller to apply the ink evenly on all the pieces. The roller or the brayer will help you create a uniform surface with no wrinkles. Sometimes, it is best to use a different brayer to avoid mixing the colors. Assemble all the pieces on an uncut block and ensure everything forms the desired puzzle. Finally, print the curving on the paper using a printing press or burnishing tool.
3. Reduction Linocut Print Technique
This is another pro technique ideal for creating multilayered prints on a single lino block. First, you must define and sketch your design, carefully marking every layer. To mark the layers, use different colors, from lighter to dark.
Once you have the perfect design, transfer everything to the lino block. Begin by carving each layer progressively. Once you complete the first layer, ink uncarved areas on the block. Inking uncarved layers will help you carve and distinguish the first layer from the rest.
Proceed to the next and ink in different colors until you reach the final layer. Once you complete everything, you can see the distinct colors defined by different layers.
Reduction linocut is not a simple design; you need to plan for the colors and layers and the color order to ensure all the layers are distinct and noticeable from afar.
As you carve all the blocks and layers, you can chip the block progressively to create a unique print. Progressive carving is the secret to creating limited-edition lino prints.
4. Multi-Block Block Printing
After printing different designs and prints, this should be easy. All you have to do is create different and distinct blocks. Each block should have a distinct color created progressively or in order. After you create the design or sketch, prepare the block, then carve the sketch just like it is on paper.
First, design each block and carve negative spaces, raising the main design. Do this for every block you create. After completing each block, align them in the order you wish to print them.
Use a roller or brayer to ink every block in the district colors. Next, print each color on the paper. Allow each print to dry before moving to the next. Letting the paint dry ensures you do not mix or rub the colors on each other.
Also, do not color all the blocks simultaneously. Working on every block independently will prevent other blocks from drying while you print the first ones.
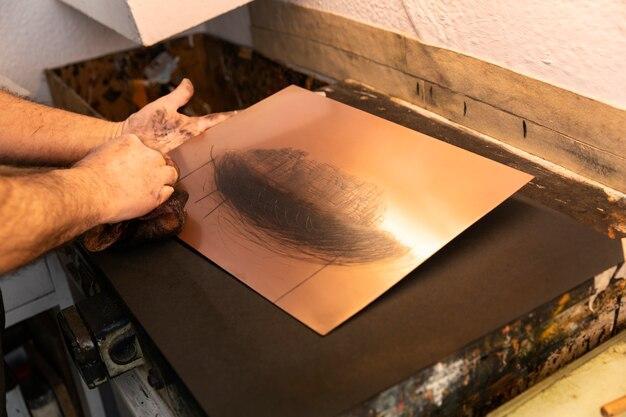
5. Inking And Printing Techniques
Once you create the designs and ink the blocks, what matters most is the final printout on the paper. Therefore, apply all your mastery and techniques to have the desired outcomes. This technique can be complex depending on the design.
Learn the art of color distinction, hand pressing, and using different tools to make all colors visible. Printing can be challenging when creating multicolored or multilayer print.
Patience matters at this stage, and so is the time. Learn when to let the paper dry and when to print progressively without a break.
Also, ensure your tools, like the rollers, are in perfect condition and shape. For example, the roller should be smooth to avoid any roughness. The smooth edges and roller ensure the final print is uniform and all the layers or colors are visible.
Bottomline
Creating a perfect and desired line print requires tact, skills, and mastery. First, plan the designs, then get all the needed tools, including the perfect lino block. Next, proceed to carve and ink until you have the design desired. Finally, you can print your design on paper.